

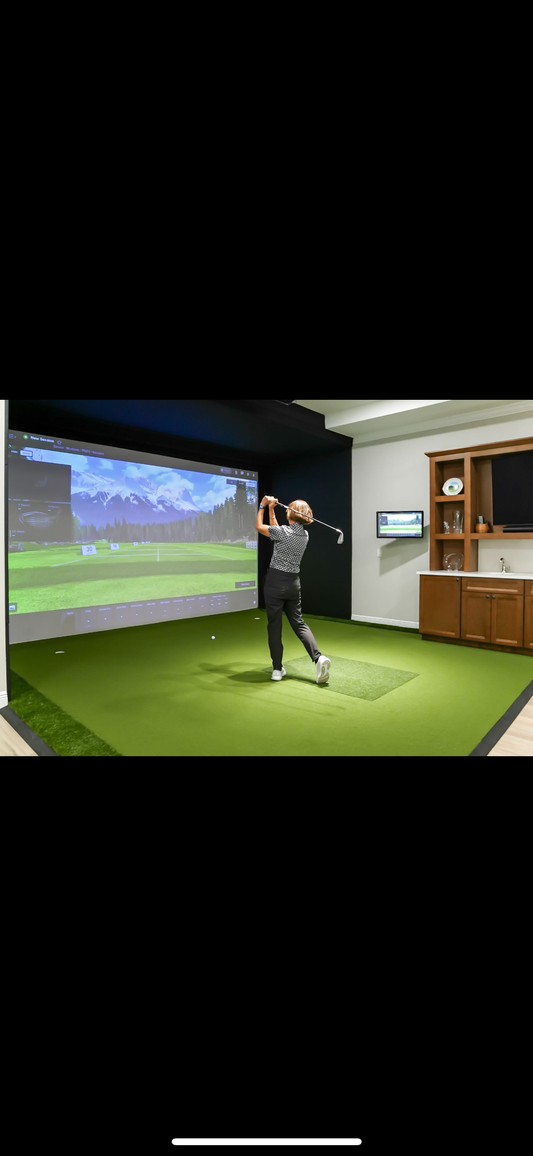
If you’re passionate about golf and want to play year-round, your garage might be the perfect spot for a golf simulator installation. With the right planning, you can transform this space into a personal golf haven. In this guide, we’ll explore different methods of how to install a golf simulator in your garage, covering budget-friendly DIY approaches as well as more advanced professional setups.
1. Measure Your Space
Before you begin, ensure your garage has the proper dimensions. Most golf simulator installations require:
-
Ceiling height: At least 9–10 feet (to allow a full swing without restrictions).
-
Width: 12 feet or more (to accommodate the screen, projector, and swing path).
-
Depth: 15–20 feet (to allow room for the hitting mat, launch monitor, and projector throw distance).
Taking accurate measurements is the first step to success.
2. Choose Your Installation Method
A. DIY Golf Simulator Setup
Many golfers opt for a DIY approach to save on costs while still achieving great results. For a garage installation, you’ll need:
-
An impact screen or net.
-
A hitting mat.
-
A short throw projector mounted from the ceiling or floor.
-
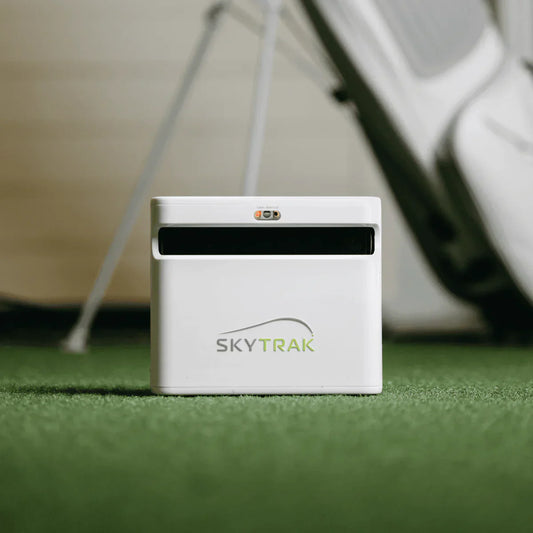
A launch monitor (popular options include SkyTrak, GCQuad, or Mevo+).
-
Golf simulator software (GSPro, E6, or FSX Play).
DIY setups are flexible and allow you to upgrade over time.
B. Enclosure Kits
A popular method is using a pre-built golf simulator enclosure kit. These enclosures include an impact screen, side nets, and framing, making installation faster and more professional-looking. Many companies provide kits designed to fit standard garage sizes.
C. Professional Golf Simulator Installation
For the most seamless experience, you can hire professionals to handle the setup. They’ll assess your garage, recommend equipment, and install everything from screens to lighting. While more expensive, this option ensures precision and minimizes mistakes.
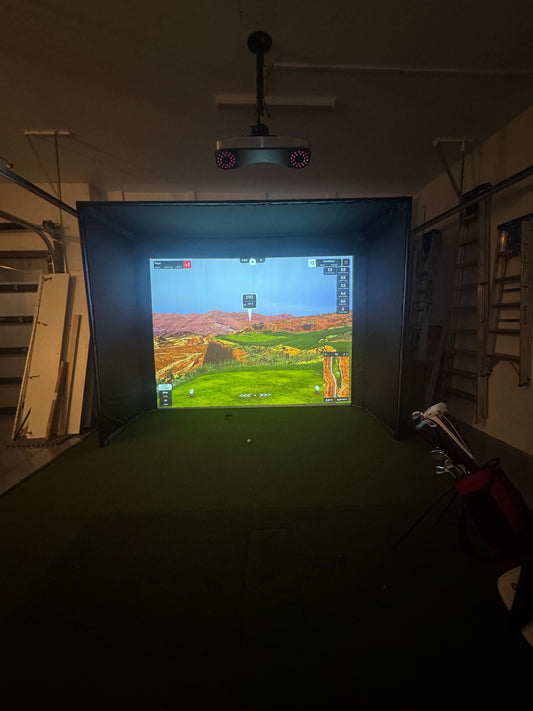
3. Projector & Launch Monitor Placement
Projector placement is a critical part of garage installations. Short throw projectors like the Optoma ZH450ST or BenQ LK936ST are excellent for tight spaces. If your garage ceiling is low, you can use a floor-mounted projector enclosure to prevent shadows and protect equipment.
Launch monitors should be positioned according to manufacturer guidelines. Overhead models (like Uneekor Eye XO) save space, while portable models (like SkyTrak) work well on the floor.
4. Flooring & Safety Considerations
-
Install turf or carpet tiles for a realistic feel and added safety.
-
Ensure there’s sufficient padding behind your impact screen to reduce bounce-back.
-
Use protective casing for projectors and sensitive equipment.
5. Optimizing for Performance
To get the best performance from your garage golf simulator:
-
Use blackout curtains or panels to control lighting.
-
Add acoustic panels to reduce echo.
-
Ensure strong WiFi or a wired connection for smooth simulator software performance.
Final Thoughts
Installing a golf simulator in your garage is a rewarding project that can improve your game and let you play year-round. Whether you go the DIY route, invest in an enclosure kit, or hire professionals, careful planning ensures the best results. By optimizing your space and choosing the right equipment, you’ll enjoy a setup that feels just like the course — without leaving home.
More to read
View all-
3 Things I Wish I Knew Before Building My Golf ...
3 Things I Wish I Knew Before Building My Golf Simulator Building a golf simulator at home is an exciting project. But like any big investment, there are lessons you...
3 Things I Wish I Knew Before Building My Golf ...
3 Things I Wish I Knew Before Building My Golf Simulator Building a golf simulator at home is an exciting project. But like any big investment, there are lessons you...
-
How to Install a Golf Simulator in Your Garage:...
If you’re passionate about golf and want to play year-round, your garage might be the perfect spot for a golf simulator installation. With the right planning, you can transform this...
How to Install a Golf Simulator in Your Garage:...
If you’re passionate about golf and want to play year-round, your garage might be the perfect spot for a golf simulator installation. With the right planning, you can transform this...
-

How Much Do Golf Simulators Cost?
The Cost of Golf Simulators: What to Expect at Every Budget Level Golf simulators can range from modest setups you assemble in a garage, to high-end commercial bays used by...
How Much Do Golf Simulators Cost?
The Cost of Golf Simulators: What to Expect at Every Budget Level Golf simulators can range from modest setups you assemble in a garage, to high-end commercial bays used by...
-
How Do Golf Simulators Work?
How Do Golf Launch Monitors Work? There are two main technologies used in launch monitors: 1. Camera-Based (Photometric) Launch Monitors Use high-speed cameras to capture images of the golf ball...
How Do Golf Simulators Work?
How Do Golf Launch Monitors Work? There are two main technologies used in launch monitors: 1. Camera-Based (Photometric) Launch Monitors Use high-speed cameras to capture images of the golf ball...


