
Building a golf simulator is an exciting project. But one of the biggest decisions you’ll face is how to set up the impact screen and hitting area. For most golfers, the choice comes down to two main approaches:
-
A custom built-in screen that integrates directly into your room.
-
A freestanding golf simulator enclosure that contains everything in one package.
Both options can create an amazing indoor golf experience—but they serve different needs. Let’s break down the pros and cons of each.
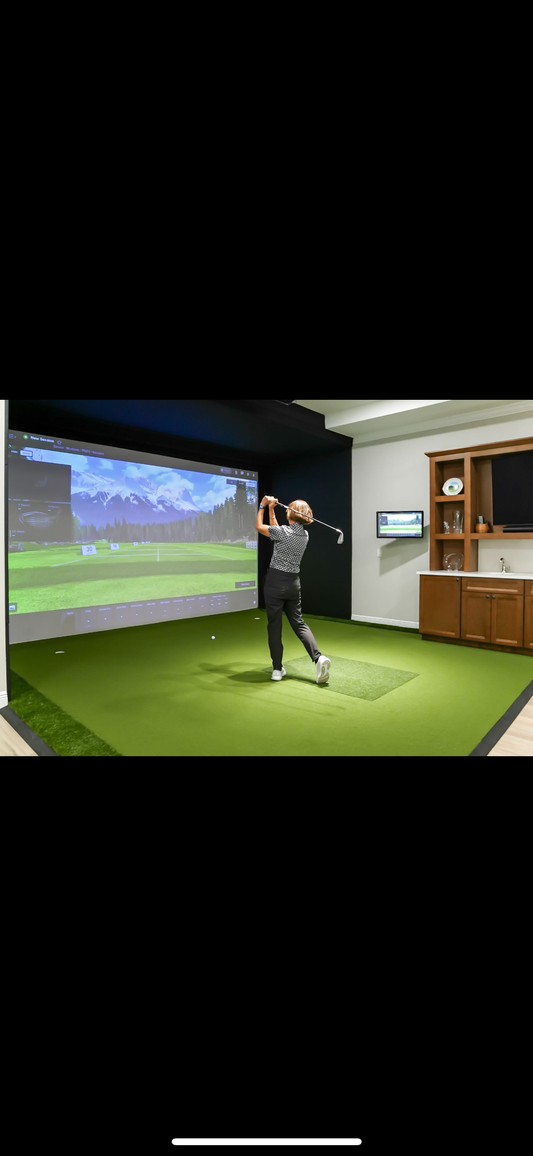
Custom Built-In Screen Setup
What It Is
A built-in screen is designed to fit your space perfectly. It’s mounted directly to your walls or ceiling with framing that’s custom-built for your room.
Advantages
-
Seamless Look – A built-in screen feels permanent and integrated, almost like having a private theater in your home.
-
Space Efficiency – Because the screen is flush with your walls, you don’t lose extra square footage to an enclosure frame.
-
Design Flexibility – You can tailor the build to your exact space, from screen size to framing style.
-
Home Value Appeal – Built-ins can add a polished, finished look that may appeal to buyers if you ever sell your home.
Considerations
-
Higher Up-Front Cost – Custom carpentry and framing can add expense, even before the simulator tech itself.
-
Permanent – Once installed, a built-in screen is not easy to move. If you change houses, it stays behind.
-
More Planning Required – You’ll need to carefully consider ceiling height, screen tension, safety padding, and projector alignment.
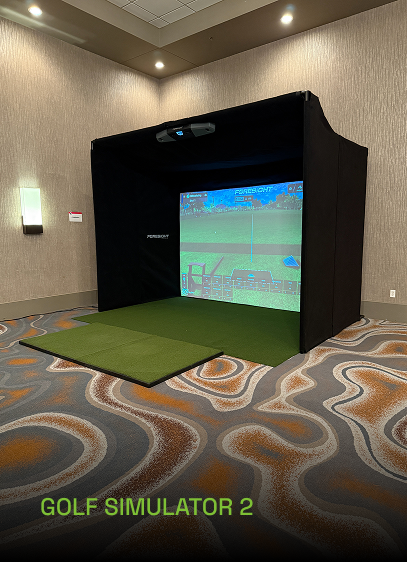
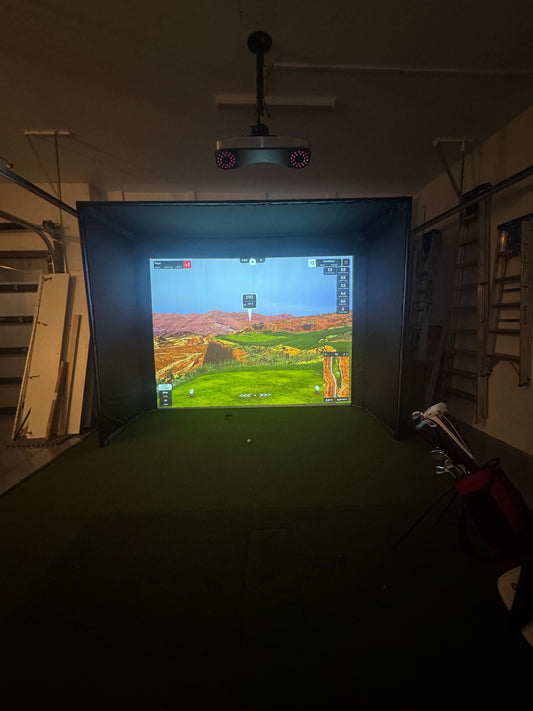
Golf Simulator Enclosure
What It Is
An enclosure is a freestanding frame that holds your impact screen, side walls, and often ceiling panels. It arrives as a kit and can usually be assembled in just a few hours.
Advantages
-
All-In-One Solution – Everything you need—frame, screen, and side panels—comes packaged together.
-
Faster Setup – Most enclosures can be installed without contractors or specialized tools.
-
Portability – If you move to a new house or want to repurpose a room, the enclosure can be disassembled and relocated.
-
Built-In Safety – Side and top netting helps catch mis-hits and protect walls, ceilings, and windows.
Considerations
-
Takes Up More Space – The frame and netting extend out from your walls, so you’ll need a bit more depth and width.
-
Less “Custom” Look – While many enclosures look sharp, they don’t blend into your room as seamlessly as a built-in screen.
-
Size Limitations – You’ll be choosing from standard kit dimensions, which may not maximize every inch of your room.
Which Is Best for You?
-
Go with a Custom Built-In Screen if you:
-
Are building a dedicated golf room or home theater/golf combo.
-
Want the cleanest, most integrated look possible.
-
Don’t plan to move the setup anytime soon.
-
Choose a Golf Simulator Enclosure if you:
-
Want a faster, easier way to get started.
-
Need built-in safety protection for mis-hits.
-
May relocate or repurpose your simulator space in the future.
Final Thoughts
There’s no wrong answer—both built-ins and enclosures can deliver a fantastic indoor golf experience. It really comes down to how permanent you want your simulator to be, how much flexibility you need, and how you envision the space fitting into your home.
The good news? Whether you choose a custom build or a ready-to-assemble enclosure, you’ll be able to practice, play, and enjoy golf on your own terms—year-round.
More to read
View all-

Foresight Falcon vs. the Trackman io
Foresight Falcon vs TrackMan iO — full comparison Quick bottom-line summary Foresight Falcon — high-accuracy, quadrascopic camera system (camera-based overhead unit). Includes FSX software licenses and a strong software ecosystem...
Foresight Falcon vs. the Trackman io
Foresight Falcon vs TrackMan iO — full comparison Quick bottom-line summary Foresight Falcon — high-accuracy, quadrascopic camera system (camera-based overhead unit). Includes FSX software licenses and a strong software ecosystem...
-

How to Build an Affordable DIY Golf Simulator (...
How to Build an Affordable DIY Golf Simulator (Under $10K–$15K) Building an affordable DIY golf simulator at home is one of the best ways to enjoy year-round practice without paying...
How to Build an Affordable DIY Golf Simulator (...
How to Build an Affordable DIY Golf Simulator (Under $10K–$15K) Building an affordable DIY golf simulator at home is one of the best ways to enjoy year-round practice without paying...
-
3 Things I Wish I Knew Before Building My Golf ...
3 Things I Wish I Knew Before Building My Golf Simulator Building a golf simulator at home is an exciting project. But like any big investment, there are lessons you...
3 Things I Wish I Knew Before Building My Golf ...
3 Things I Wish I Knew Before Building My Golf Simulator Building a golf simulator at home is an exciting project. But like any big investment, there are lessons you...
-
How to Install a Golf Simulator in Your Garage:...
If you’re passionate about golf and want to play year-round, your garage might be the perfect spot for a golf simulator installation. With the right planning, you can transform this...
How to Install a Golf Simulator in Your Garage:...
If you’re passionate about golf and want to play year-round, your garage might be the perfect spot for a golf simulator installation. With the right planning, you can transform this...


