
Building a home golf simulator is a dream for many golfers. The idea of swinging in your own living room, basement, or garage—rain or shine—is tempting. With so many DIY golf simulator kits on the market, it can be easy to think, “I can set this up myself and save money.”
But here’s the reality: installing a golf simulator correctly is far more complex than hanging a net and plugging in a projector. At Golf2U, we’ve seen plenty of DIY attempts go sideways, and in this article we’ll break down the pros and cons so you can make the best decision for your game (and your wallet).
Pros of DIY Golf Simulator Installation
1. Lower Upfront Cost
Buying the components and putting them together yourself can save you some money—at least at the start. You avoid paying labor fees and can sometimes find deals on individual parts.
2. Flexible Timeline
You can build at your own pace, making adjustments when your schedule allows.
3. Learning Experience
If you love tinkering and problem-solving, you might enjoy the challenge of building your simulator from scratch.
Cons of DIY Golf Simulator Installation
1. Measurement & Fit Issues
Golf simulators require precise measurements for screen size, enclosure dimensions, and projector placement. One small miscalculation can mean:
-
The image doesn’t fully fill your screen
-
Your swing area feels cramped
-
The ball ricochets dangerously off walls or ceilings
2. Equipment Compatibility Problems
Not all launch monitors, hitting mats, and enclosures work well together. We’ve seen DIY setups where the owner had to replace expensive components because they didn’t integrate properly.
3. Poor Aesthetics
Crooked screens, visible cables, and mismatched components can make your simulator look like a patchwork project rather than a polished installation.
4. Hidden Costs
That “cheaper” DIY setup can quickly cost more when you factor in:
-
Replacement parts for mistakes
-
Tools you didn’t already own
-
Time lost troubleshooting issues
5. Safety Risks
Incorrectly installed nets or poorly secured screens can lead to serious damage (or injury) if a ball escapes the hitting area.
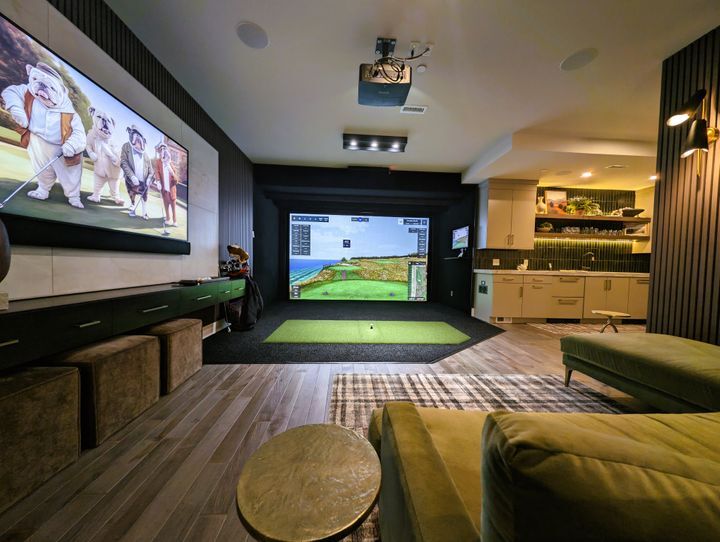
Why a Professional Golf Simulator Installation is Worth It
When you hire Golf2U, you’re not just paying for labor—you’re getting:
-
Perfect measurements for your specific space
-
Optimized projector placement for a full, immersive image
-
Clean cable management and a polished, professional look
-
Expert equipment selection so everything works seamlessly
-
Peace of mind knowing your system is safe and built to last
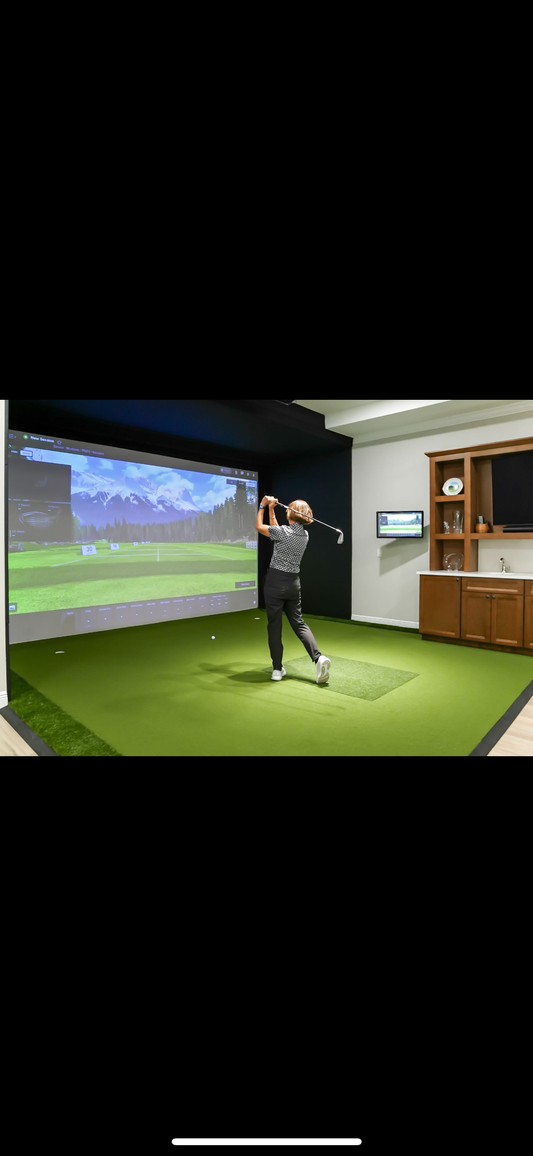
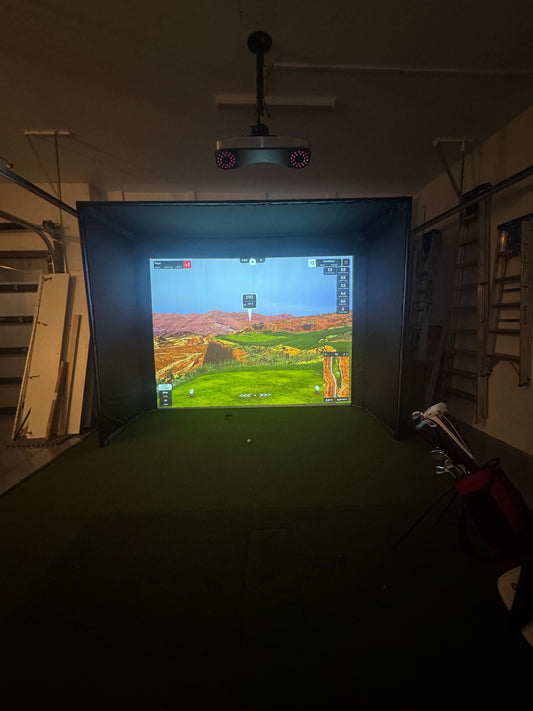
We’ve installed golf simulators in garages, basements, sheds, and commercial spaces, and we know the pitfalls to avoid. Many of our clients first tried DIY and ended up calling us to fix costly mistakes.
The Bottom Line
Yes, a DIY golf simulator might seem cheaper upfront—but if you want a flawless, safe, and immersive indoor golf experience, the smartest choice is to have it professionally installed.
At Golf2U, we bring years of expertise directly to your door, handling everything from design to final calibration. Whether you have a small spare room, a garage, or a custom-built space, we’ll make sure your simulator is set up perfectly the first time.
DIY vs Professional Golf Simulator Installation – Side-by-Side Comparison
Thinking about building a golf simulator at home? You’ve got two main options: do it yourself (DIY) or hire a professional golf simulator installer like Golf2U. While both approaches can get you hitting balls indoors, the results—and the headaches—can be very different.
Below, we break down the key differences so you can make the best choice for your space, budget, and long-term enjoyment.
DIY vs Professional Golf Simulator Installation
|
Feature |
DIY Golf Simulator |
Professional Golf Simulator Installation (Golf2U) |
|
Upfront Cost |
Lower initial spend since you buy and assemble components yourself. |
Higher initial cost due to labor, planning, and precision installation. |
|
Time Investment |
Can take days or weeks depending on skill level and available time. |
Usually completed in a single day or two, depending on complexity. |
|
Measurements & Fit |
High risk of errors—incorrect screen size or projector placement can ruin the experience. |
Exact measurements ensure perfect fit, full image coverage, and safe swing clearance. |
|
Equipment Compatibility |
Risk of mismatched components (launch monitor, mat, enclosure) leading to costly replacements. |
Professional selection of equipment ensures seamless integration and peak performance. |
|
Aesthetics |
May look rough with visible cables, uneven screens, or mismatched materials. |
Clean, polished, and professional finish with hidden cables and perfect alignment. |
|
Safety |
Improperly secured nets or screens can allow balls to escape, causing damage or injury. |
Secure installation prevents ricochets and protects walls, ceilings, and players. |
|
Long-Term Cost |
Often ends up more expensive after fixing mistakes or replacing damaged parts. |
Higher initial investment but fewer repairs and a longer-lasting setup. |
|
Support & Maintenance |
You’re on your own for troubleshooting and repairs. |
Ongoing support, maintenance, and expert advice available. |
Why Professional Installation Wins
While DIY golf simulator setups may seem appealing for budget reasons, they often lead to:
-
Frustration from setup challenges
-
Subpar visuals from misaligned projectors
-
Safety risks from poor ball containment
-
Higher costs over time
With Golf2U professional installation, you get:
✅ Perfect measurements
✅ Expert equipment matching
✅ A polished, safe, and reliable setup
✅ A ready-to-play simulator without the hassle
Final Verdict: If you want to spend your time golfing instead of troubleshooting, professional installation is the smarter choice.
Get it right the first time.
📞 Contact Golf2U today for expert golf simulator installation anywhere in Florida or the Greater Boston area.
More to read
View all-

Foresight Falcon vs. the Trackman io
Foresight Falcon vs TrackMan iO — full comparison Quick bottom-line summary Foresight Falcon — high-accuracy, quadrascopic camera system (camera-based overhead unit). Includes FSX software licenses and a strong software ecosystem...
Foresight Falcon vs. the Trackman io
Foresight Falcon vs TrackMan iO — full comparison Quick bottom-line summary Foresight Falcon — high-accuracy, quadrascopic camera system (camera-based overhead unit). Includes FSX software licenses and a strong software ecosystem...
-

How to Build an Affordable DIY Golf Simulator (...
How to Build an Affordable DIY Golf Simulator (Under $10K–$15K) Building an affordable DIY golf simulator at home is one of the best ways to enjoy year-round practice without paying...
How to Build an Affordable DIY Golf Simulator (...
How to Build an Affordable DIY Golf Simulator (Under $10K–$15K) Building an affordable DIY golf simulator at home is one of the best ways to enjoy year-round practice without paying...
-
3 Things I Wish I Knew Before Building My Golf ...
3 Things I Wish I Knew Before Building My Golf Simulator Building a golf simulator at home is an exciting project. But like any big investment, there are lessons you...
3 Things I Wish I Knew Before Building My Golf ...
3 Things I Wish I Knew Before Building My Golf Simulator Building a golf simulator at home is an exciting project. But like any big investment, there are lessons you...
-
How to Install a Golf Simulator in Your Garage:...
If you’re passionate about golf and want to play year-round, your garage might be the perfect spot for a golf simulator installation. With the right planning, you can transform this...
How to Install a Golf Simulator in Your Garage:...
If you’re passionate about golf and want to play year-round, your garage might be the perfect spot for a golf simulator installation. With the right planning, you can transform this...


