
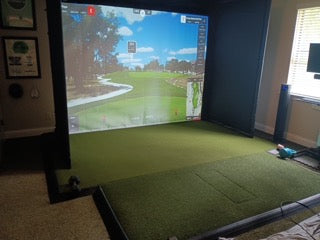
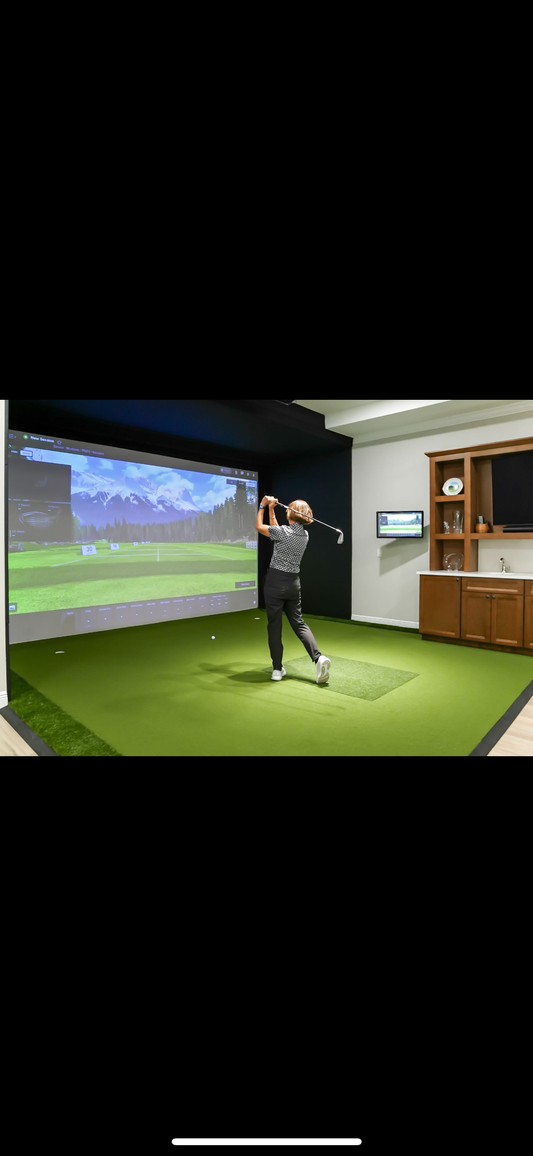
Golf simulators have become one of the best ways to enjoy the game year-round, whether you’re fine-tuning your swing, hosting friends, or just looking for a way to play more often. But once most golfers start researching, they quickly realize: a simulator can cost anywhere from a few hundred dollars to tens of thousands.
That leads to the big question: Can you build a golf simulator on a budget without sacrificing too much? The answer is yes—but it’s important to understand where cutting corners will cost you in the long run.
What "Budget-Friendly" Really Means
When people think of building a simulator on a budget, they usually picture a few things: a net, a mat, and a launch monitor hooked up to a laptop. That can absolutely get you swinging indoors for a few hundred dollars.
But if your goal is to create something that feels like a true simulator—safe, reliable, and immersive—budget doesn’t mean “as cheap as possible.” It means spending wisely in the right areas.
The True Costs of DIY Golf Simulators
You’ll find endless YouTube videos and forums showing how to build enclosures, project screens, and hitting mats yourself. While it’s tempting, here are the common issues that pop up:
-
Durability problems – A homemade impact screen may look fine on day one, but after a few weeks of 7-iron shots at 150 mph, it can fray, ripple, or even tear. Replacing parts constantly eats into any savings.
-
Safety concerns – Misjudging materials or setup angles can lead to ricocheted balls, broken windows, or worse, injuries. The wrong turf or mat can also put stress on your joints.
-
Inconsistent play experience – DIY solutions often fall short in key areas like turf feel, screen clarity, and software compatibility. If you’re serious about practicing, this inconsistency will frustrate you fast.
-
Hidden costs – You might save on day one, but between trial-and-error, upgrades, and replacements, DIY can easily end up costing more than a properly designed budget setup.
Where to Spend (and Where to Save)
If you want a simulator that feels great but doesn’t break the bank, here’s how to prioritize:
-
Launch Monitor – This is the heart of your simulator. Entry-level devices like the Garmin R10 or Mevo+ give you accurate ball data without the $10K price tag of premium monitors.
-
Hitting Mat – A good mat protects both your joints and your clubs. Cheap mats wear out quickly and can cause elbow/wrist pain, so it’s worth spending here.
-
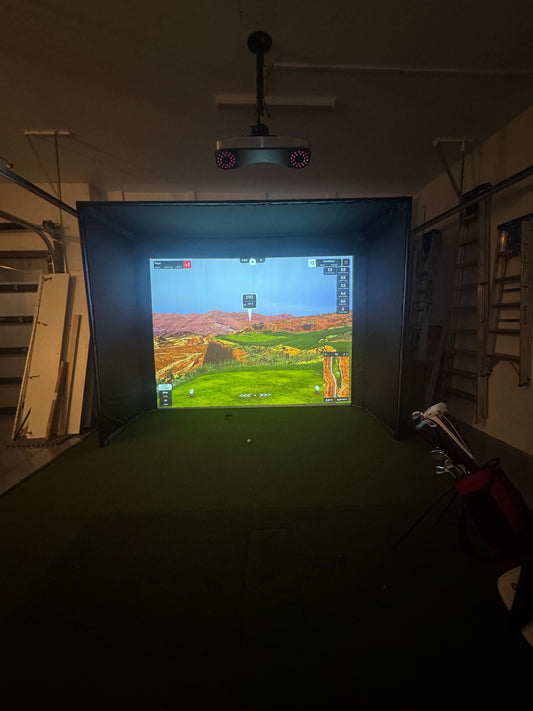
Impact Screen & Enclosure – Safe, high-quality screens are crucial. Look for tested golf impact materials rather than cutting up random fabric. A well-built enclosure also makes the setup feel professional.
-
Projector & Software – If you’re on a tight budget, you can start with a TV or monitor and add a projector later. For software, GSPro and E6 offer excellent entry-level options.
Why “Budget” Shouldn’t Mean “Bare Minimum”
Think of your golf simulator like a set of clubs: you wouldn’t show up with a mismatched collection of bargain-bin wedges and expect to play your best golf. The same goes for simulators.
The goal isn’t to spend the least amount of money possible. The goal is to spend smart, avoid mistakes, and build something you’ll enjoy using every day. A simulator is an investment—not just in equipment, but in your golf game and the time you’ll spend with friends and family.
Final Thoughts
Building a golf simulator on a budget is absolutely possible. But going too cheap or trying to DIY every piece usually leads to frustration, wasted money, and a setup that doesn’t deliver the experience you were hoping for.
If you take the time to choose the right components from the start—or work with people who’ve done this countless times before—you’ll end up with a simulator that feels professional, lasts for years, and fits your budget without constant headaches.
More to read
View all-

Foresight Falcon vs. the Trackman io
Foresight Falcon vs TrackMan iO — full comparison Quick bottom-line summary Foresight Falcon — high-accuracy, quadrascopic camera system (camera-based overhead unit). Includes FSX software licenses and a strong software ecosystem...
Foresight Falcon vs. the Trackman io
Foresight Falcon vs TrackMan iO — full comparison Quick bottom-line summary Foresight Falcon — high-accuracy, quadrascopic camera system (camera-based overhead unit). Includes FSX software licenses and a strong software ecosystem...
-

How to Build an Affordable DIY Golf Simulator (...
How to Build an Affordable DIY Golf Simulator (Under $10K–$15K) Building an affordable DIY golf simulator at home is one of the best ways to enjoy year-round practice without paying...
How to Build an Affordable DIY Golf Simulator (...
How to Build an Affordable DIY Golf Simulator (Under $10K–$15K) Building an affordable DIY golf simulator at home is one of the best ways to enjoy year-round practice without paying...
-
3 Things I Wish I Knew Before Building My Golf ...
3 Things I Wish I Knew Before Building My Golf Simulator Building a golf simulator at home is an exciting project. But like any big investment, there are lessons you...
3 Things I Wish I Knew Before Building My Golf ...
3 Things I Wish I Knew Before Building My Golf Simulator Building a golf simulator at home is an exciting project. But like any big investment, there are lessons you...
-
How to Install a Golf Simulator in Your Garage:...
If you’re passionate about golf and want to play year-round, your garage might be the perfect spot for a golf simulator installation. With the right planning, you can transform this...
How to Install a Golf Simulator in Your Garage:...
If you’re passionate about golf and want to play year-round, your garage might be the perfect spot for a golf simulator installation. With the right planning, you can transform this...


